3.5 KiB
ROS–Unity Integration: Publisher
Create a simple Unity scene which publishes a GameObject's position and rotation to a ROS topic.
Setting Up ROS
-
Copy the
tutorials/ros_packages/robotics_demofolder of this repo into thesrcfolder in your Catkin workspace. -
Follow the ROS–Unity Initial Setup guide.
-
Open a new terminal window and run the following commands:
 source devel/setup.bash
 rosrun robotics_demo server_endpoint.py
Once the server_endpoint has started, it will print something similar to [INFO] [1603488341.950794]: Starting server on 192.168.50.149:10000.
- Open another new terminal window, navigate to your ROS workspace, and run the following commands:
 source devel/setup.bash
 rostopic echo pos_rot
Setting Up Unity Scene
- In the menu bar, find and select
RosMessageGeneration->Auto Generate Messages->Single Message ... - Set the input file path to
PATH/TO/Unity-Robotics-Hub/tutorials/ros_packages/robotics_demo/msg/PosRot.msgand clickGENERATE!- The generated file will be saved in the default directory
Assets/RosMessages/msg
- The generated file will be saved in the default directory
- Create a new directory in
Assetsand name itScripts - Create a new script in the
Scriptsdirectory and name itRosPublisherExample.cs - Open
RosPublisherExample.csand paste the following code:- Note Script can be found at
tutorials/ros_unity_integration/unity_scripts
- Note Script can be found at
using RosMessageTypes.RoboticsDemo;
using UnityEngine;
using Random = UnityEngine.Random;

/// <summary>
///
/// </summary>
public class RosPublisherExample : MonoBehaviour
{
    public ROSConnection ros;
    public string topicName = "pos_rot";

    // The GameObject
    public GameObject cube;
    // Publish the cube's position and rotation every N seconds
    public float publishMessageFrequency = 0.5f;

    // Used to determine how much time has elapsed since the last message was published
    private float timeElapsed;

    private void Update()
    {
        timeElapsed += Time.deltaTime;

        if (timeElapsed > publishMessageFrequency)
        {
            cube.transform.rotation = Random.rotation;

            PosRot cubePos = new PosRot(
                cube.transform.position.x,
                cube.transform.position.y,
                cube.transform.position.z,
                cube.transform.rotation.x,
                cube.transform.rotation.y,
                cube.transform.rotation.z,
                cube.transform.rotation.w
            );

            // Finally send the message to server_endpoint.py running in ROS
            ros.Send(topicName, cubePos);

            timeElapsed = 0;
        }
    }
}
-
Add a plane and a cube to the empty Unity scene
-
Move the cube a little ways up so it is hovering above the plane
-
Create an empty GameObject, name it
RosConnectionand attach thePlugins/TcpConnector/ROSConnectionscript.- Change the host name and port to match the ROS IP and port variables defined when you set up ROS
-
Create another empty GameObject, name it
RosPublisherand attach theRosPublisherExamplescript.- Drag the cube GameObject onto the
Cubeparameter - Drag the RosConnection object onto its
Rosparameter.
- Drag the cube GameObject onto the
-
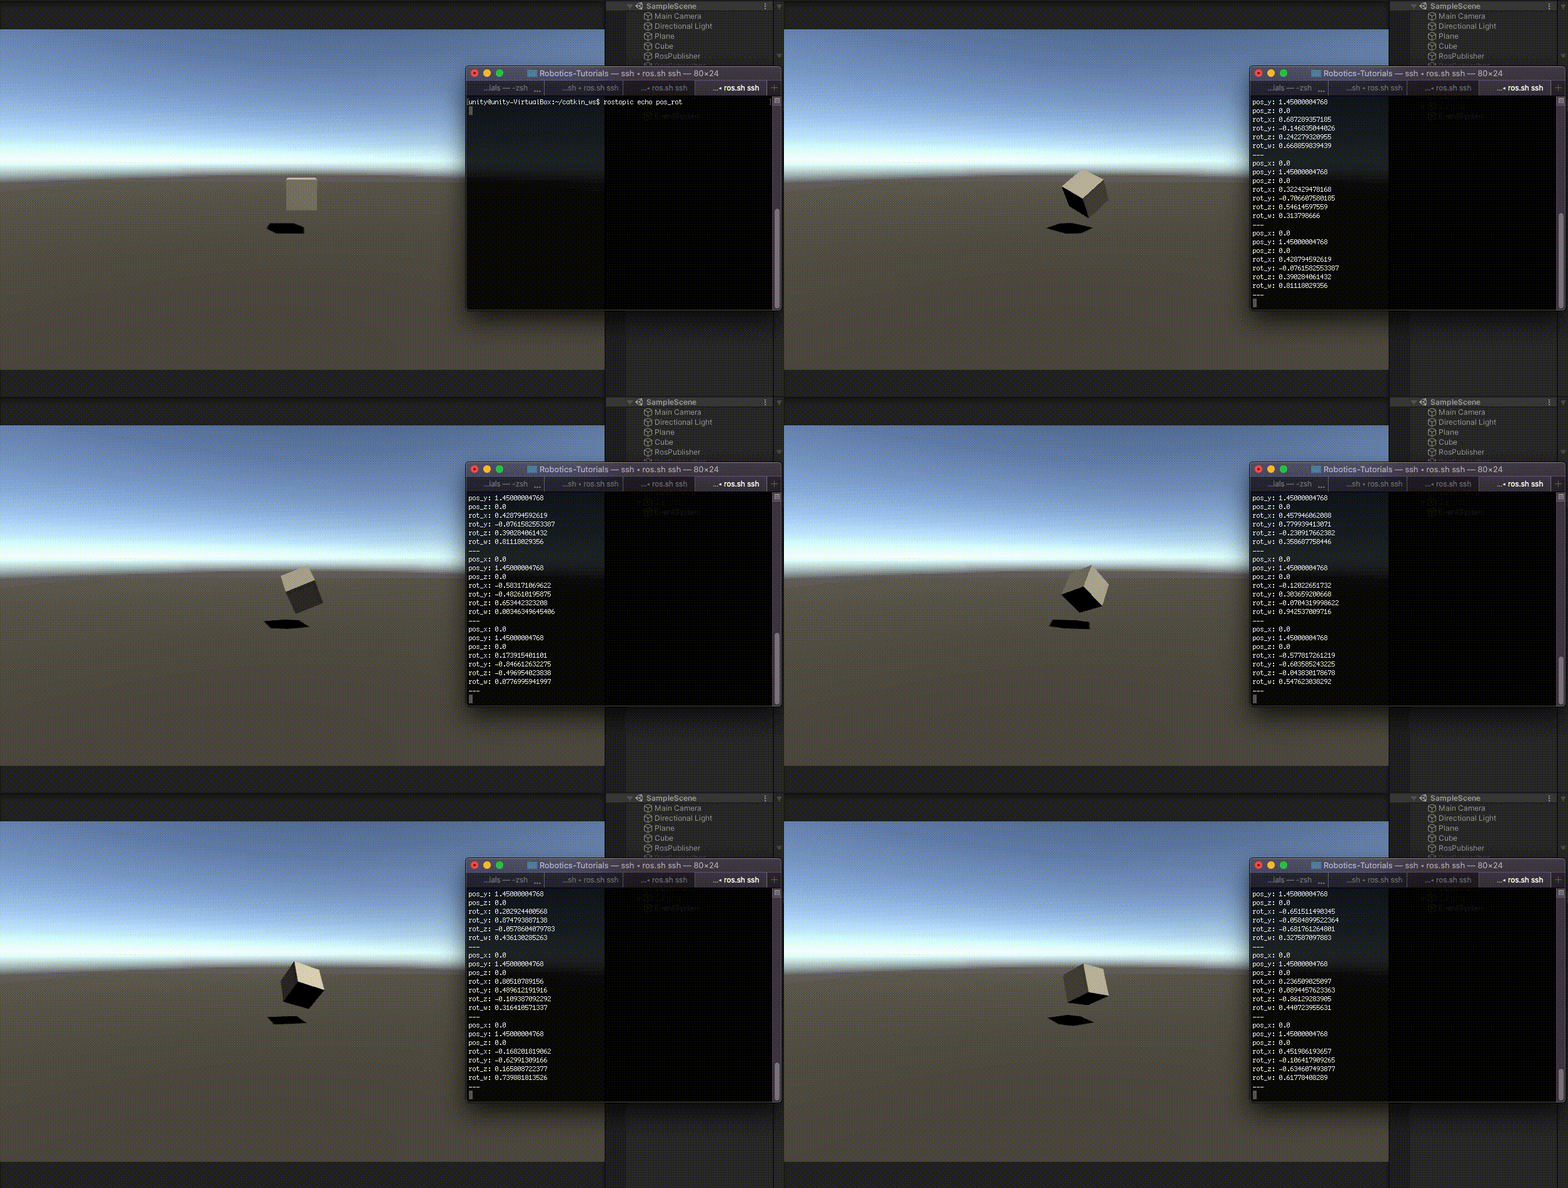
Pressing play in the Editor should publish a message to the terminal running the
rostopic echo pos_rotcommand every 0.5 seconds
Continue to the ROS Subscriber tutorial.
