|
|
6 年前 | |
|---|---|---|
| Documentation~ | 6 年前 | |
| Editor | 6 年前 | |
| Runtime | 6 年前 | |
| Samples | 6 年前 | |
| Tests | 6 年前 | |
| scripts | 6 年前 | |
| .DS_Store | 6 年前 | |
| .editorconfig | 6 年前 | |
| .gitignore | 6 年前 | |
| .npmignore | 6 年前 | |
| CHANGELOG.md | 6 年前 | |
| CHANGELOG.md.meta | 6 年前 | |
| CONTRIBUTING.md | 6 年前 | |
| CONTRIBUTING.md.meta | 6 年前 | |
| Editor.meta | 6 年前 | |
| LICENSE.md | 6 年前 | |
| LICENSE.md.meta | 6 年前 | |
| QAReport.md | 6 年前 | |
| QAReport.md.meta | 6 年前 | |
| README-ZH.md | 6 年前 | |
| README-ZH.md.meta | 6 年前 | |
| README.md | 6 年前 | |
| README.md.meta | 6 年前 | |
| Runtime.meta | 6 年前 | |
| Samples.meta | 6 年前 | |
| Tests.meta | 6 年前 | |
| Third Party Notices.md | 6 年前 | |
| Third Party Notices.md.meta | 6 年前 | |
| UIWidgetCleanupPlugin.DotSettings | 6 年前 | |
| UIWidgetCleanupPlugin.DotSettings.meta | 6 年前 | |
| package.json | 6 年前 | |
| package.json.meta | 6 年前 | |
| scripts.meta | 6 年前 | |
README.md
UIWidgets
Introduction
UIWidgets is a plugin package for Unity Editor which helps developers to create, debug and deploy efficient, cross-platform Apps using the Unity Engine.
UIWidgets is mainly derived from Flutter. However, taking advantage of the powerful Unity Engine, it offers developers many new features to improve their Apps as well as the develop workflow significantly.
Efficiency
Using the latest Unity rendering SDKs, a UIWidgets App can run very fast and keep >60fps in most times.
Cross-Platform
A UIWidgets App can be deployed on all kinds of platforms including PCs, mobile devices and web page directly, like any other Unity projects.
Multimedia Support
Except for basic 2D UIs, developers are also able to include 3D Models, audios, particle-systems to their UIWidgets Apps.
Developer-Friendly
A UIWidgets App can be debug in the Unity Editor directly with many advanced tools like CPU/GPU Profiling, FPS Profiling.
Example

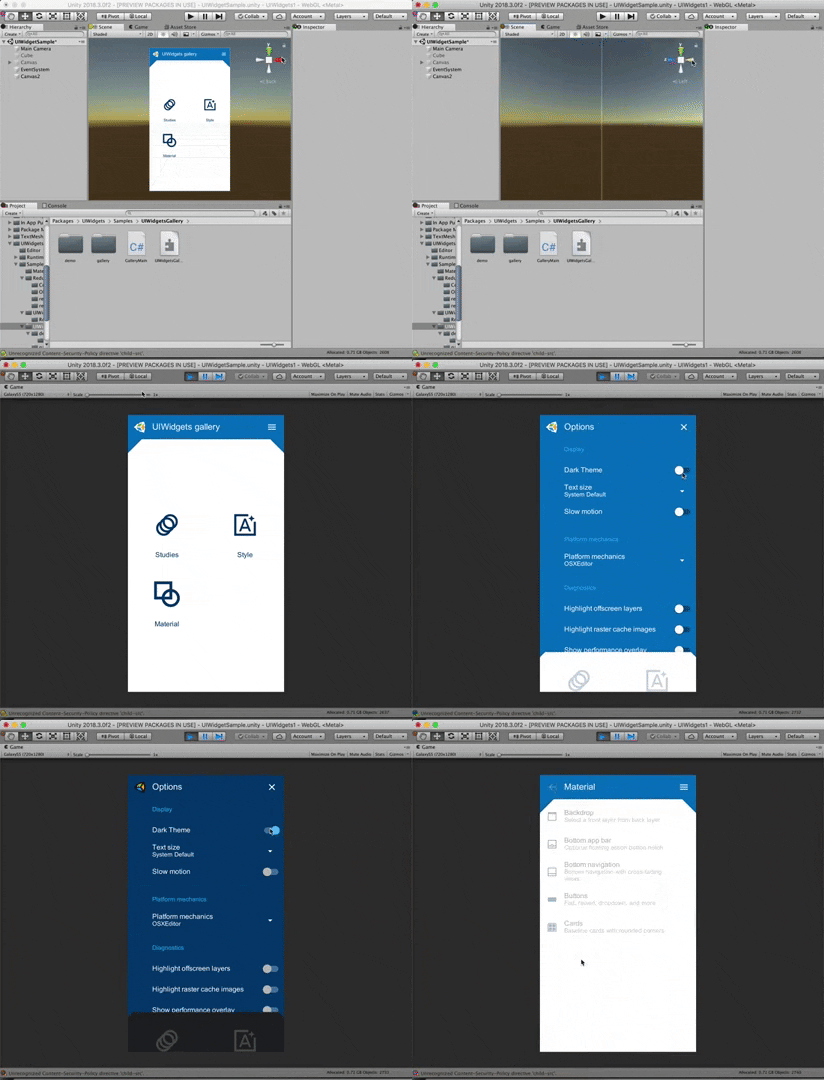
|

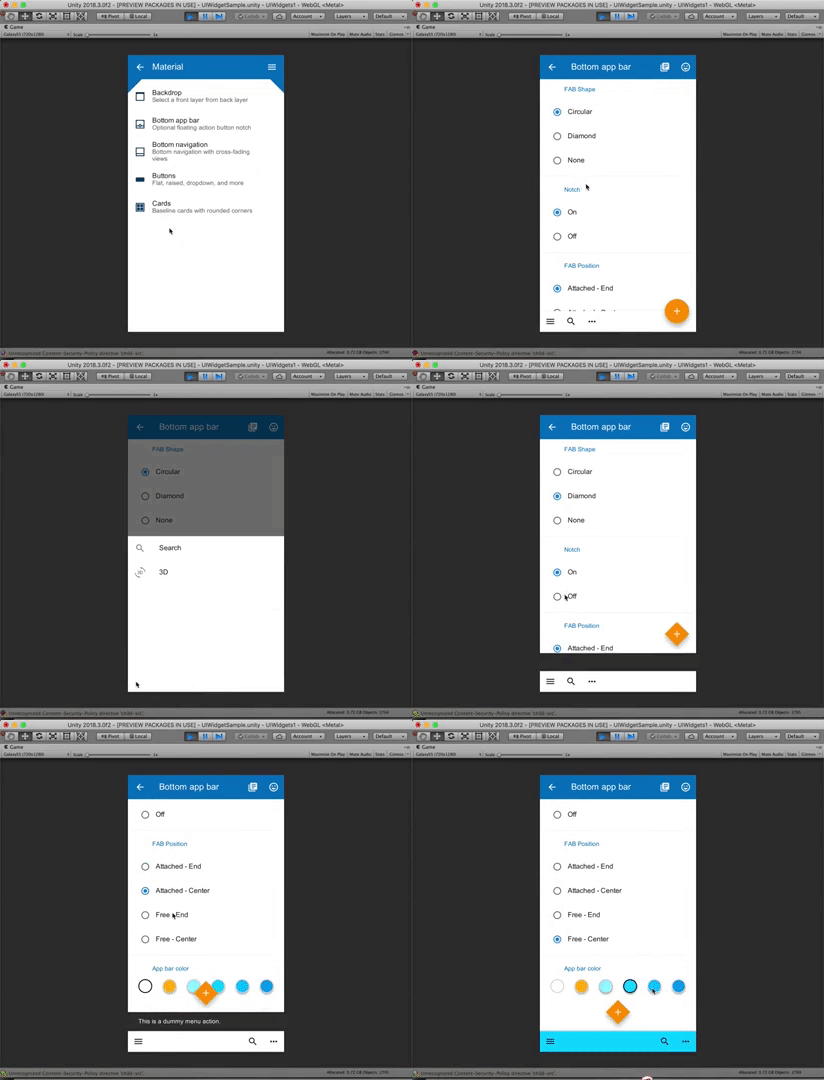
|

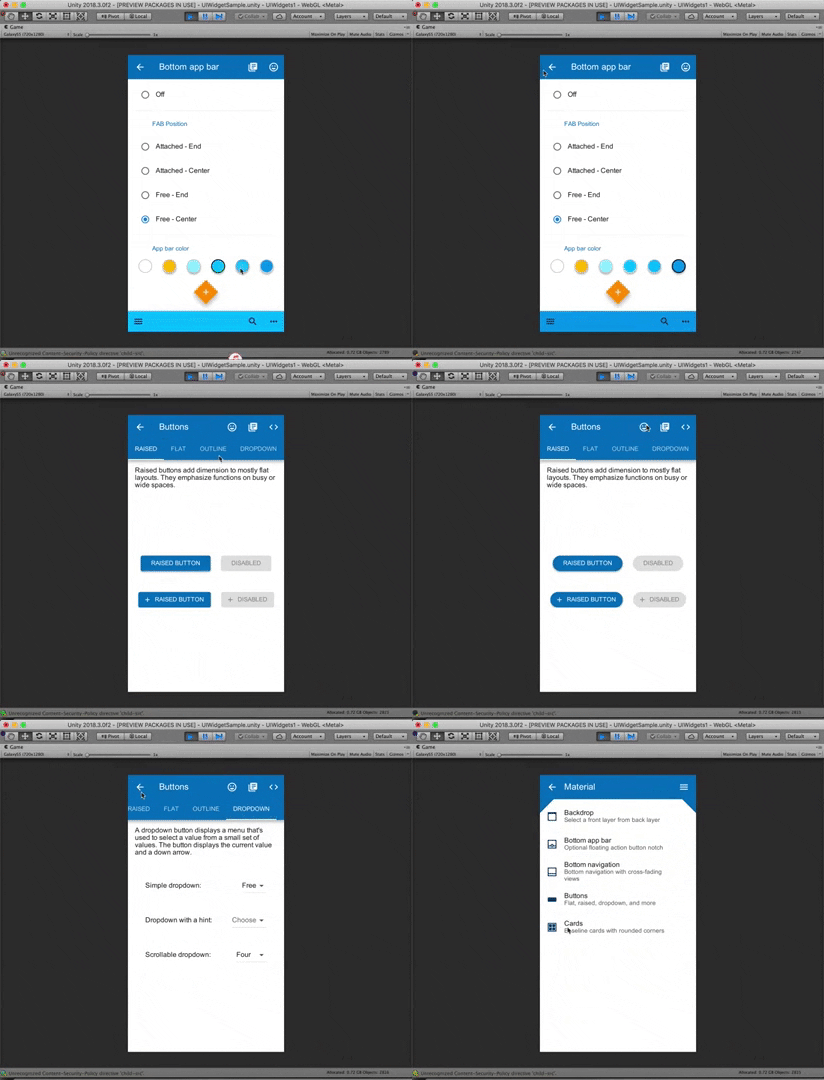
|

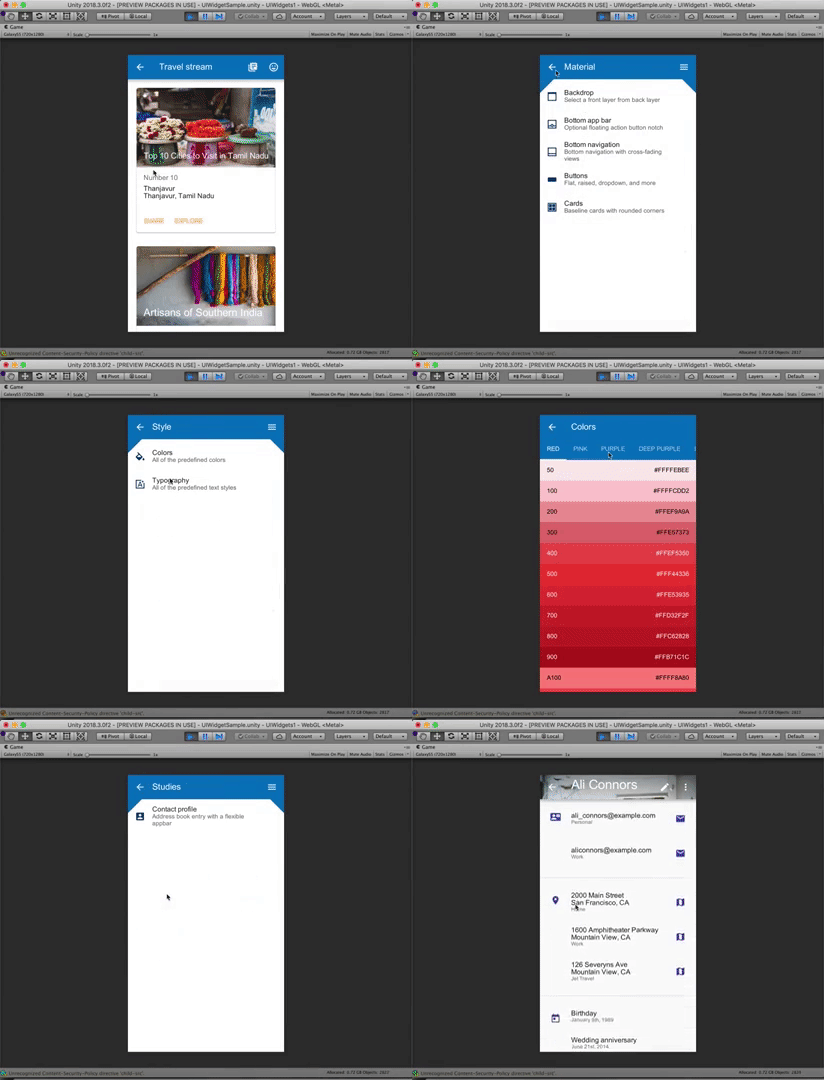
|
Requirement
Unity
Install Unity 2018.3 or above. You can download the latest Unity on https://unity3d.com/get-unity/download.
UIWidgets Package
Visit our Github repository https://github.com/UnityTech/UIWidgets to download the latest UIWidgets package.
Move the downloaded package folder into the Package folder of your Unity project.
Generally, you can make it using a console (or terminal) application by just a few commands as below:
 cd <YourProjectPath>/Packages
 git clone https://github.com/UnityTech/UIWidgets.git com.unity.uiwidgets
Getting Start
i. Overview
In this tutorial, we will create a very simple UIWidgets App as the kick-starter. The app contains only a text label and a button. The text label will count the times of clicks upon the button.
First of all, please open or create a Unity Project and open it with Unity Editor.
And then open Project Settings, go to Player section and add "UIWidgets_DEBUG" to the Scripting Define Symbols field. This enables the debug mode of UIWidgets for your development. Remove this for your release build afterwards.
ii. Scene Build
A UIWidgets App is usually built upon a Unity UI Canvas. Please follow the steps to create a UI Canvas in Unity.
- Create a new Scene by "File -> New Scene";
- Create a UI Canvas in the scene by "GameObject -> UI -> Canvas";
- Add a Panel (i.e., Panel 1) to the UI Canvas by right click on the Canvas and select "UI -> Panel". Then remove the Image Component from the Panel.
iii. Create Widget
A UIWidgets App is written in C# Scripts. Please follow the steps to create an App and play it in Unity Editor.
-
Create a new C# Script named "UIWidgetsExample.cs" and paste the following codes into it.
using System.Collections.Generic; using Unity.UIWidgets.animation; using Unity.UIWidgets.engine; using Unity.UIWidgets.foundation; using Unity.UIWidgets.material; using Unity.UIWidgets.painting; using Unity.UIWidgets.ui; using Unity.UIWidgets.widgets; using UnityEngine; using FontStyle = Unity.UIWidgets.ui.FontStyle; namespace UIWidgetsSample { public class UIWidgetsExample : UIWidgetsPanel { protected override void OnEnable() { // Application.targetFrameRate = 60; // or higher if you want a smoother scrolling experience. // if you want to use your own font or font icons. // FontManager.instance.addFont(Resources.Load<Font>(path: "path to your font"), "font family name"); // load custom font with weight & style. The font weight & style corresponds to fontWeight, fontStyle of // a TextStyle object // FontManager.instance.addFont(Resources.Load<Font>(path: "path to your font"), "Roboto", FontWeight.w500, // FontStyle.italic); // add material icons, familyName must be "Material Icons" // FontManager.instance.addFont(Resources.Load<Font>(path: "path to material icons"), "Material Icons"); base.OnEnable(); } protected override Widget createWidget() { return new WidgetsApp( home: new ExampleApp(), pageRouteBuilder: (RouteSettings settings, WidgetBuilder builder) => new PageRouteBuilder( settings: settings, pageBuilder: (BuildContext context, Animation<float> animation, Animation<float> secondaryAnimation) => builder(context) ) ); } class ExampleApp : StatefulWidget { public ExampleApp(Key key = null) : base(key) { } public override State createState() { return new ExampleState(); } } class ExampleState : State<ExampleApp> { int counter = 0; public override Widget build(BuildContext context) { return new Column( children: new List<Widget> { new Text("Counter: " + this.counter), new GestureDetector( onTap: () => { this.setState(() => { this.counter++; }); }, child: new Container( padding: EdgeInsets.symmetric(20, 20), color: Colors.blue, child: new Text("Click Me") ) ) } ); } } } } -
Save this script and attach it to Panel 1 as its component.
-
Press the "Play" Button to start the App in Unity Editor.
iv. Build App
Finally, the UIWidgets App can be built to packages for any specific platform by the following steps.
- Open the Build Settings Panel by "File -> Build Settings..."
- Choose a target platform and click "Build". Then the Unity Editor will automatically assemble all relevant resources and generate the final App package.
How to load images?
- Put your images files in Resources folder. e.g. image1.png.
- You can add image1@2.png and image1@3.png in the same folder to support HD screens.
- Use Image.asset("image1") to load the image. Note: as in Unity, ".png" is not needed.
UIWidgets supports Gif as well!
- Suppose you have loading1.gif. Rename it to loading1.gif.bytes and copy it to Resources folder.
- You can add loading1@2.gif.bytes and loading1@3.gif.bytes in the same folder to support HD screens.
- Use Image.asset("loading1.gif") to load the gif images.
Using Window Scope
If you see the error AssertionError: Window.instance is null or null pointer error of Window.instance,
it means the code is not running in the window scope. In this case, you can enclose your code
with window scope as below:
using(WindowProvider.of(your gameObject with UIWidgetsPanel).getScope()) {
    // code dealing with UIWidgets,
    // e.g. setState(() => {....})
}
This is needed if the code is in methods
not invoked by UIWidgets. For example, if the code is in completed callback of UnityWebRequest,
you need to enclose them with window scope.
Please see HttpRequestSample for detail.
For callback/event handler methods from UIWidgets (e.g Widget.build, State.initState...), you don't need do
it yourself, since the framework ensure it's in window scope.
Debug UIWidgets Application
Define UIWidgets_DEBUG
It's recommended to define the UIWidgets_DEBUG script symbol in editor, this will turn on
debug assertion in UIWidgets, which will help to find potential bugs earlier. To do this:
please go to Player Settings -> Other Settings -> Configuration -> Scripting Define Symbols,
and add UIWidgets_DEBUG.
The symbol is for debug purpose, please remove it from your release build.
UIWidgets Inspector
The UIWidgets Inspector tool is for visualizing and exploring the widget trees. You can find it
via Window/Analysis/UIWidgets inspector in Editor menu.
Note
- UIWidgets_DEBUG needs to be define for inspector to work properly.
- Inspector currently only works in Editor Play Mode, inspect standalone built application is not supported for now.
Learn
Samples
You can find many UIWidgets App samples in the UIWidgets package in the Samples folder. Feel free to try them out and make modifications to see the results. To get started, the UIWidgetsTheatre scene provides you a list of carefully selected samples to start with.
You can also try UIWidgets-based Editor windows by clicking UIWidgetsTest on the main menu and open one of the dropdown samples.
Wiki
The develop team is still working on the UIWidgets Wiki. However, since UIWidgets is mainly derived from Flutter, you can refer to Flutter Wiki to access detailed descriptions of UIWidgets APIs from those of their Flutter counterparts. Meanwhile, you can join the discussion channel at (https://connect.unity.com/g/uiwidgets)
FAQ
| Question | Answer |
|---|---|
| Can I create standalone App using UIWidgets? | Yes |
| Can I use UIWidgets to build game UIs? | Yes |
| Can I develop Unity Editor plugins using UIWidgets? | Yes |
| Is UIWidgets a extension of UGUI/NGUI? | No |
| Is UIWidgets just a copy of Flutter? | No |
| Can I create UI with UIWidgets by simply drag&drop? | No |
| Do I have to pay for using UIWidgets? | No |
| Any IDE recommendation for UIWidgets? | Rider, VSCode(Open .sln) |
How to Contribute
Check CONTRIBUTING.md