您最多选择25个主题
主题必须以中文或者字母或数字开头,可以包含连字符 (-),并且长度不得超过35个字符
4.4 KiB
4.4 KiB
ROS–Unity Integration: Service
Create a simple Unity scene which calls a ROS service with a GameObject's position and rotation to receive a new position to move the GameObject towards.
Setting Up ROS
(You can skip this if you already did the ROS–Unity Integration Publisher or Subscriber tutorials.)
-
Copy the
tutorials/ros_packages/robotics_demofolder of this repo into thesrcfolder in your Catkin workspace. -
Follow the ROS–Unity Initial Setup guide.
-
Open a new terminal window, navigate to your ROS workspace, and run the following commands:
 source devel/setup.bash
 rosrun robotics_demo server_endpoint.py
Once the server_endpoint has started, it will print something similar to [INFO] [1603488341.950794]: Starting server on 192.168.50.149:10000.
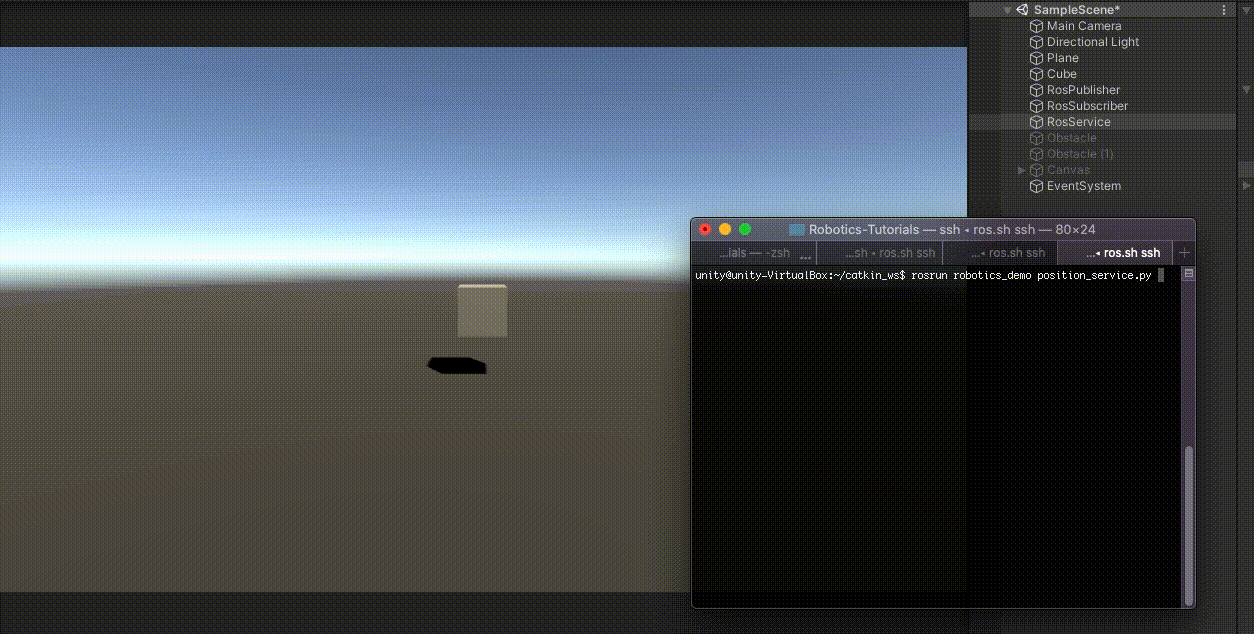
Start the Position service
-
Open a new terminal window, navigate to your ROS workspace, and run the following commands:
 source devel/setup.bash
 rosrun robotics_demo position_service.py
Setting Up Unity Scene
- Generate the C# code for
PositionService's messages by going toRosMessageGeneration->AutoGenerateServices->Single Service... - Set the input file path to
PATH/TO/Unity-Robotics-Hub/tutorials/ros_packages/robotics_demo/srv/PositionService.srvand clickGENERATE!- The generated files will be saved in the default directory
Assets/RosMessages/srv
- The generated files will be saved in the default directory
- Create a script and name it
RosServiceExample.cs - Paste the following code into
RosServiceExample.cs - Note Script can be found at
tutorials/ros_unity_integration/unity_scripts
using System;
using RosMessageTypes.RoboticsDemo;
using UnityEngine;
using Debug = UnityEngine.Debug;

public class RosServiceExample : MonoBehaviour
{
    public ROSConnection ros;

    public string serviceName = "pos_srv";

    public GameObject cube;

    // Cube movement conditions
    public float delta = 1.0f;
    public float speed = 2.0f;
    private Vector3 destination;

    float awaitingResponseUntilTimestamp = -1;

    void Start()
    {
        destination = cube.transform.position;
    }

    private void Update()
    {
        // Move our position a step closer to the target.
        float step = speed * Time.deltaTime; // calculate distance to move
        cube.transform.position = Vector3.MoveTowards(cube.transform.position, destination, step);

        if (Vector3.Distance(cube.transform.position, destination) < delta && Time.time > awaitingResponseUntilTimestamp)
        {
            Debug.Log("Destination reached.");

            PosRot cubePos = new PosRot(
                cube.transform.position.x,
                cube.transform.position.y,
                cube.transform.position.z,
                cube.transform.rotation.x,
                cube.transform.rotation.y,
                cube.transform.rotation.z,
                cube.transform.rotation.w
            );

            PositionServiceRequest positionServiceRequest = new PositionServiceRequest(cubePos);

            // Send message to ROS and return the response
            ros.SendServiceMessage<PositionServiceResponse>(serviceName, positionServiceRequest, Callback_Destination);
            awaitingResponseUntilTimestamp = Time.time+1.0f; // don't send again for 1 second, or until we receive a response
        }
    }

    void Callback_Destination(PositionServiceResponse response)
    {
        awaitingResponseUntilTimestamp = -1;
        destination = new Vector3(response.output.pos_x, response.output.pos_y, response.output.pos_z);
        Debug.Log("New Destination: " + destination);
    }
}
- Create an empty GameObject, name it
RosConnection, and attach thePlugins/TCPConnection/ROSConnectionscript to it. (Or, if you're reusing the same scene from the previous tutorials, you can just keep the existing RosConnection object.) - In the Inspector window of the Editor change the
Host Namevariable on theRosConnectionGameObject to the ROS IP. - Create another empty GameObject and name it
RosService. - Attach the
RosServiceExamplescript to theRosServiceGameObject. Drag the cube GameObject onto itscubeparameter and the RosConnection GameObject onto itsRosparameter. - Pressing play in the Editor should start communication with the
position_servicescript, running as a ROS node, causing the cube to move to random positions in the scene.