# Pick-and-Place Tutorial

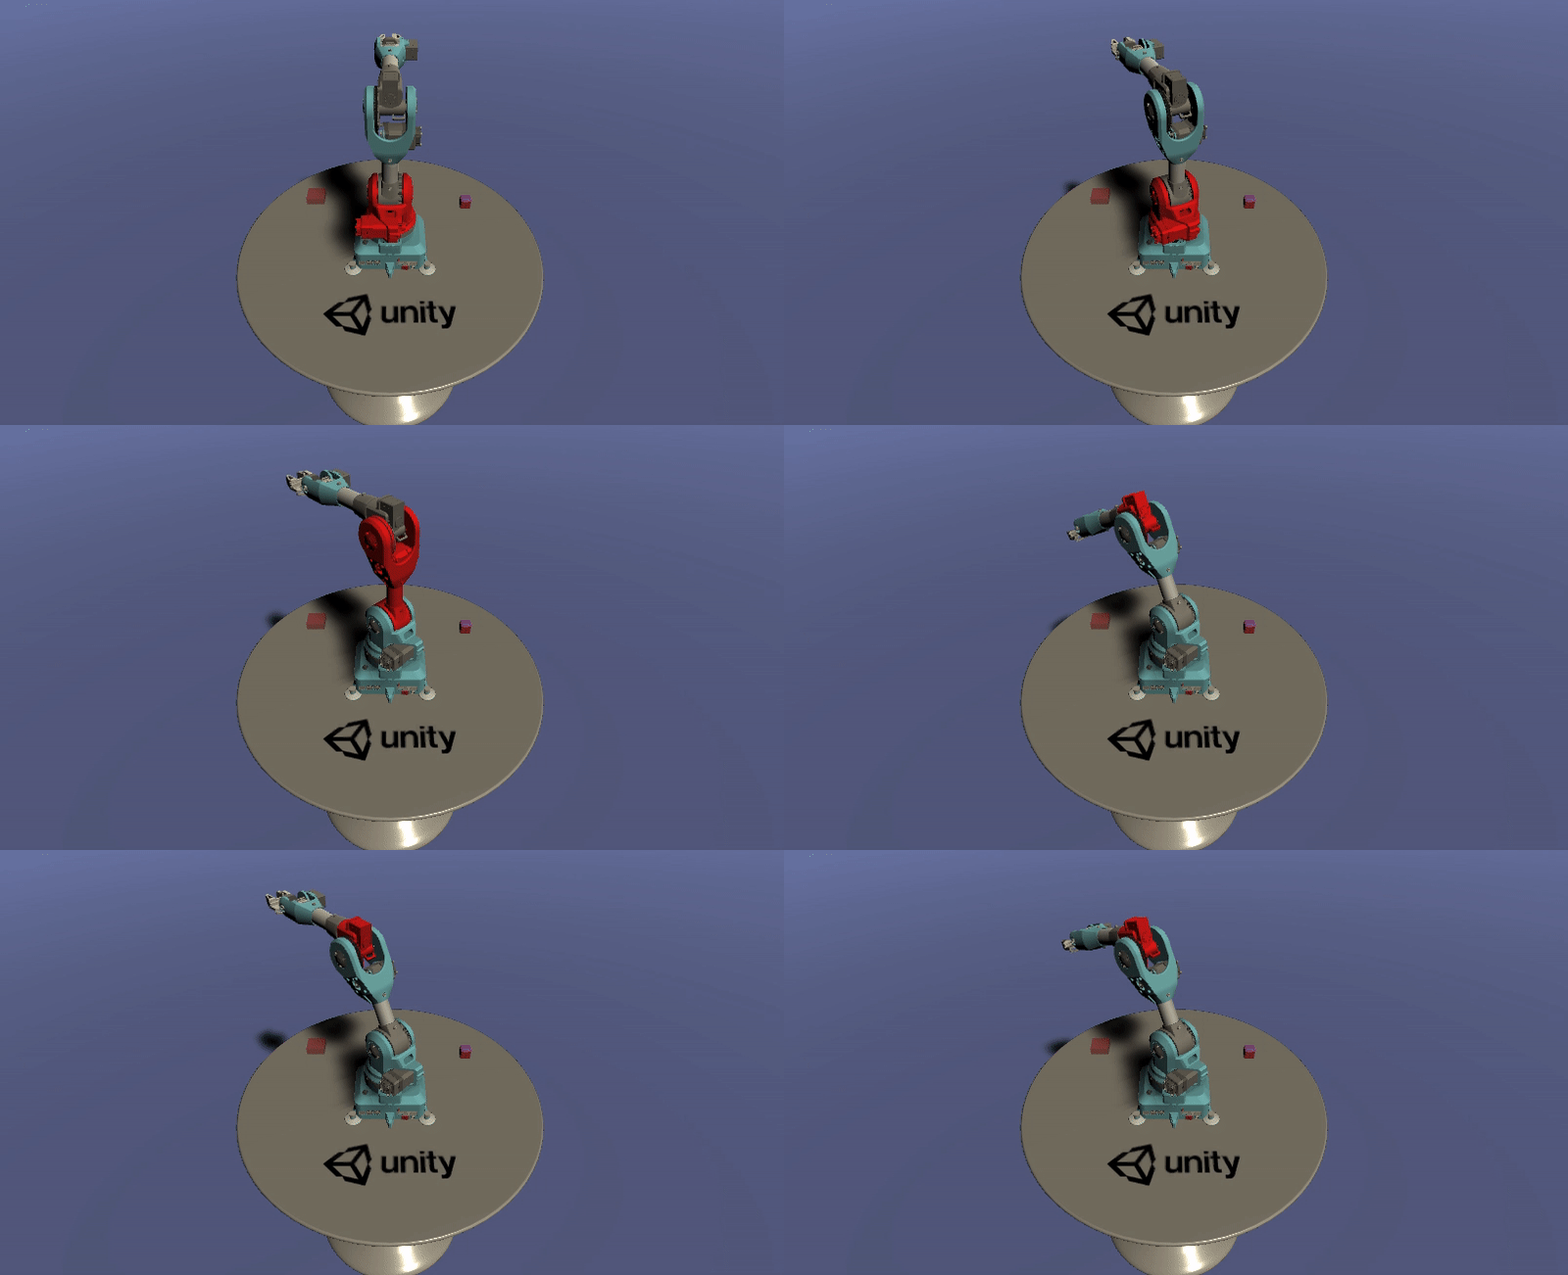
This tutorial will go through the steps necessary to integrate ROS with Unity, from installing the Unity Editor to creating a scene with an imported URDF to completing a pick-and-place task with known poses using MoveIt trajectory planning.
> Note: This project was built using the ROS Melodic distro and Python 2.
**Table of Contents**
- [Pick-and-Place Tutorial](#pick-and-place-tutorial)
- [Part 1: Create Unity scene with imported URDF](#part-1-create-unity-scene-with-imported-urdf)
- [Part 2: ROS–Unity Integration](#part-2-rosunity-integration)
- [Part 3: Pick-and-Place](#part-3-pick-and-place)
---
## [Part 1: Create Unity scene with imported URDF](1_urdf.md)
 This part includes downloading and installing the Unity Editor, setting up a basic Unity scene, and importing a robot--the [Niryo One](https://niryo.com/niryo-one/)--using the URDF Importer.
---
## [Part 2: ROS–Unity Integration](2_ros_tcp.md)
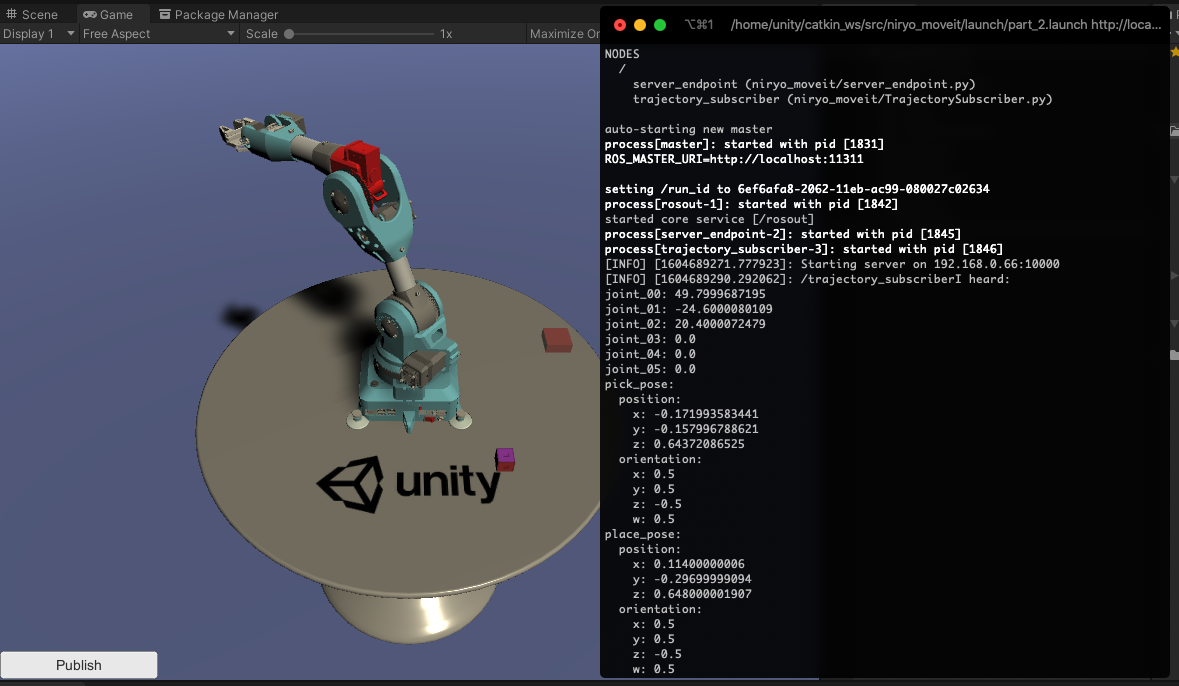
 This part assumes you have access to a functional ROS workspace. Steps covered include creating a TCP connection between Unity and ROS, generating C# scripts from a ROS msg and srv files, and publishing to a ROS topic.
---
## [Part 3: Pick-and-Place](3_pick_and_place.md)
 This part includes the preparation and setup necessary to run a pick-and-place task with known poses using MoveIt. Steps covered include creating and invoking a motion planning service in ROS, moving a Unity Articulation Body based on a calculated trajectory, and controlling a gripping tool to successfully grasp and drop an object.
 This part includes downloading and installing the Unity Editor, setting up a basic Unity scene, and importing a robot--the [Niryo One](https://niryo.com/niryo-one/)--using the URDF Importer.
---
## [Part 2: ROS–Unity Integration](2_ros_tcp.md)
 This part assumes you have access to a functional ROS workspace. Steps covered include creating a TCP connection between Unity and ROS, generating C# scripts from a ROS msg and srv files, and publishing to a ROS topic.
---
## [Part 3: Pick-and-Place](3_pick_and_place.md)
 This part includes the preparation and setup necessary to run a pick-and-place task with known poses using MoveIt. Steps covered include creating and invoking a motion planning service in ROS, moving a Unity Articulation Body based on a calculated trajectory, and controlling a gripping tool to successfully grasp and drop an object.